speaker connections


Bananas for Revox B750
MK I & MK II
Whether it brings something sonically?
But you can connect cables as you like, without rejuvenating the cross-section, without fraying the copper wires. Due to the greater distance of the terminals to each other, they are excellent to use!

Elsewhere, the terminals are so tight that they can cause short circuits when using plugs.
LS-Connection

for Revox B750

delivery

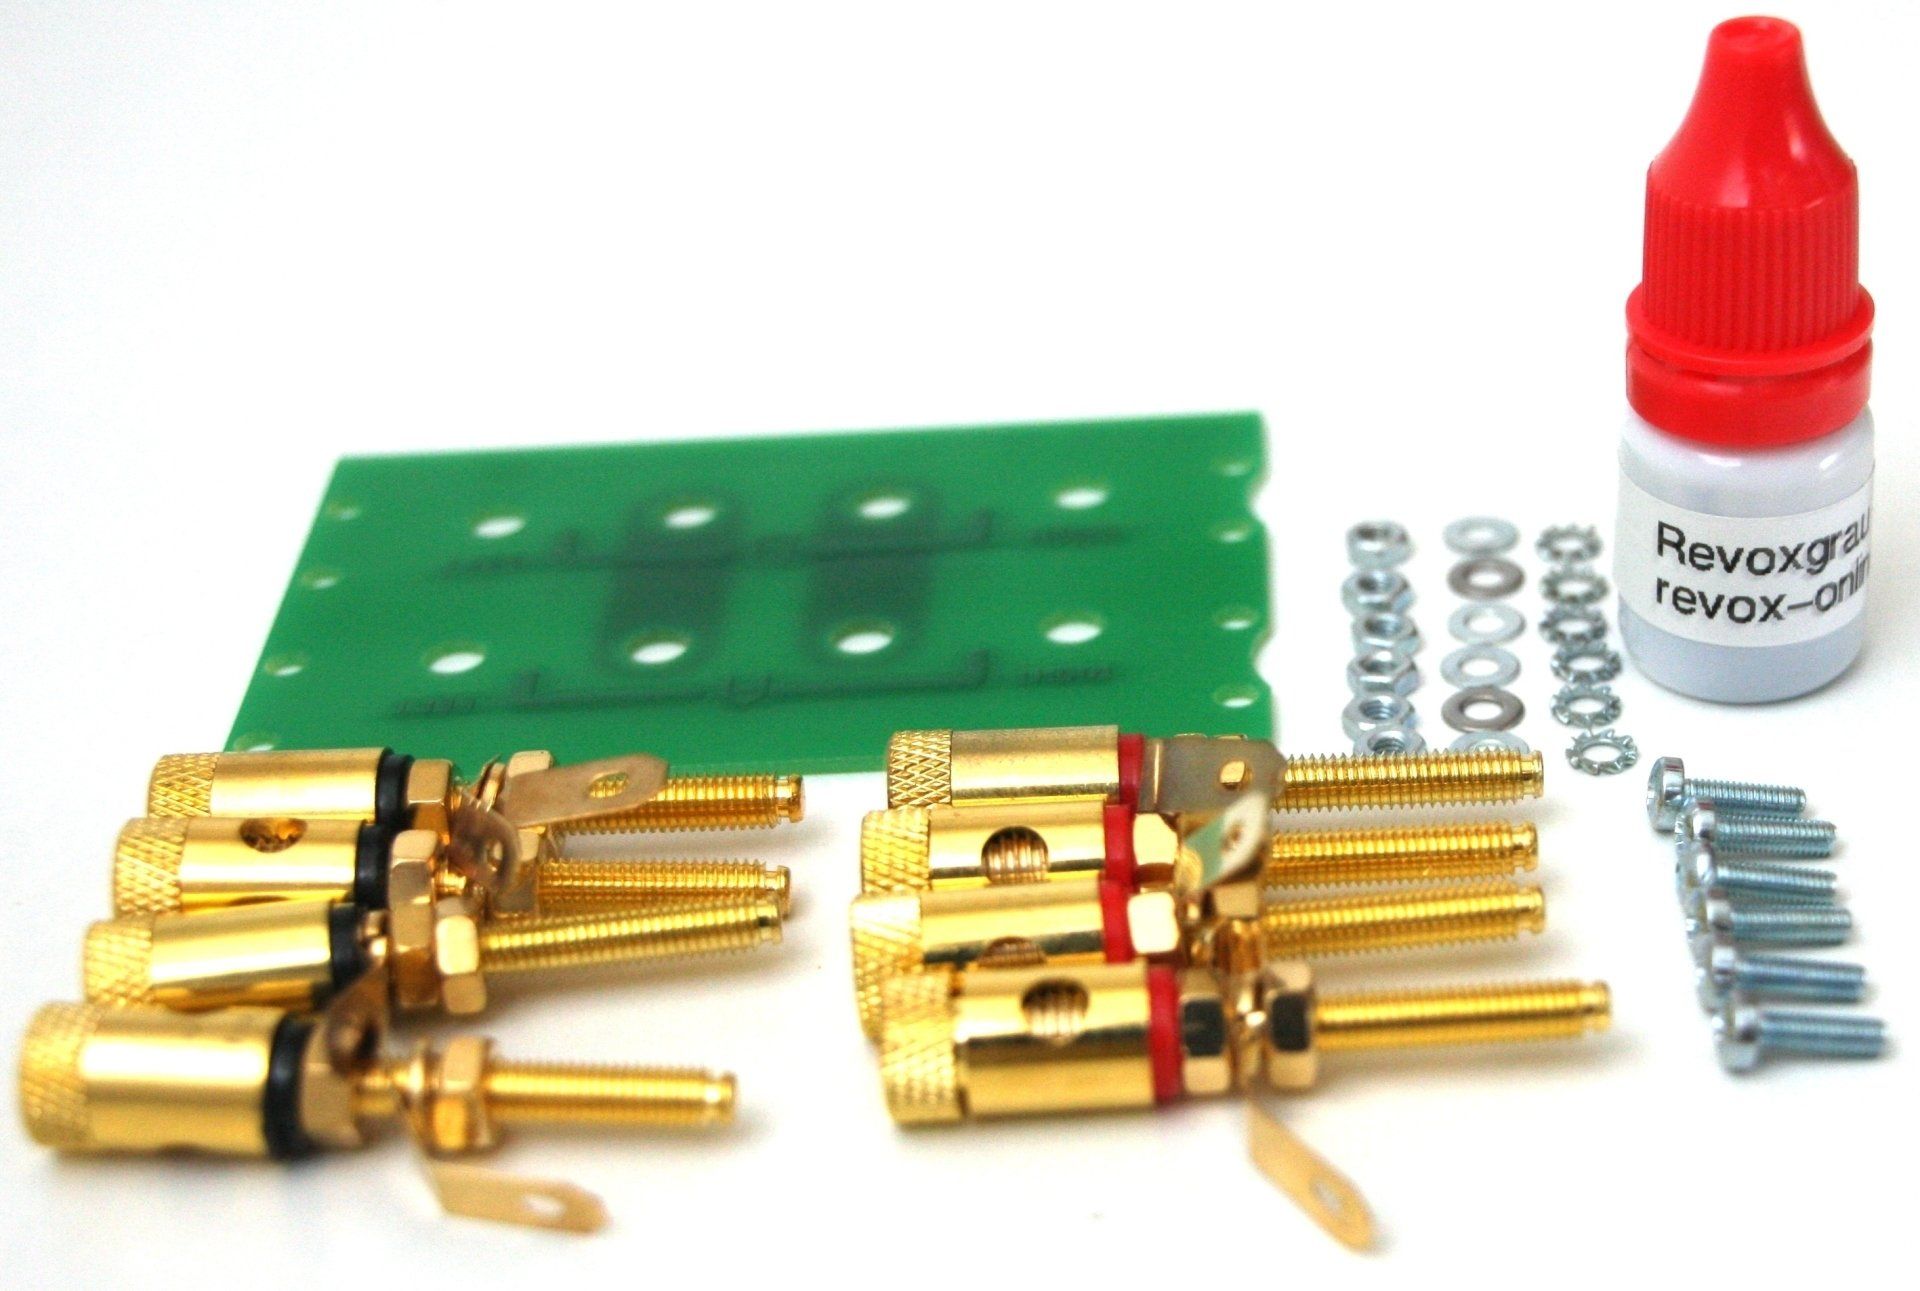
The delivery includes:
a stable epoxy board with all holes, inscriptions and 2 ground planes,4 pole terminals ground and 4 pole terminals signal,
10 screws and nuts, 16 washers and about 3 ml gray color
gold-plated speaker terminals, Revox B750 delivery
PCB, epoxy, Revox B750 from revox-online

The speaker pairs

Elsewhere, "only" the pair of speakers "B" changed, then too narrow, better usability is not there.
Okay, more work is needed here, but it's worth it. Here you have real comfort gain.
If rebuild, then correct!
Epoxyd-Leiterplatte, Revox B750 Polklemmen

The connections

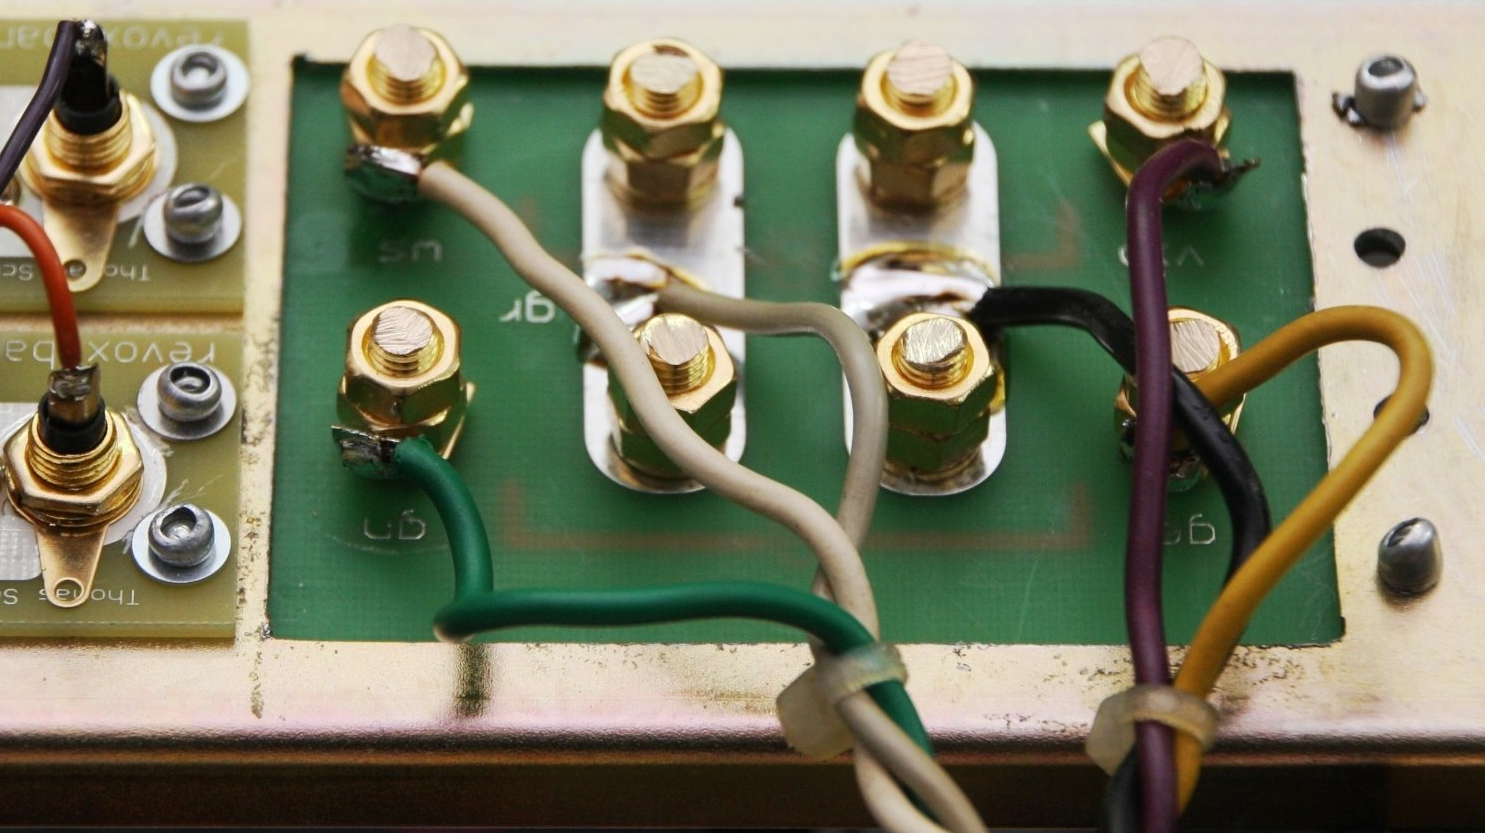
the pole terminals are marked.
The ground connections of the channels, the black and the gray wire must not be exchanged under any circumstances! A bridge is, through the ground plane, no longer necessary.
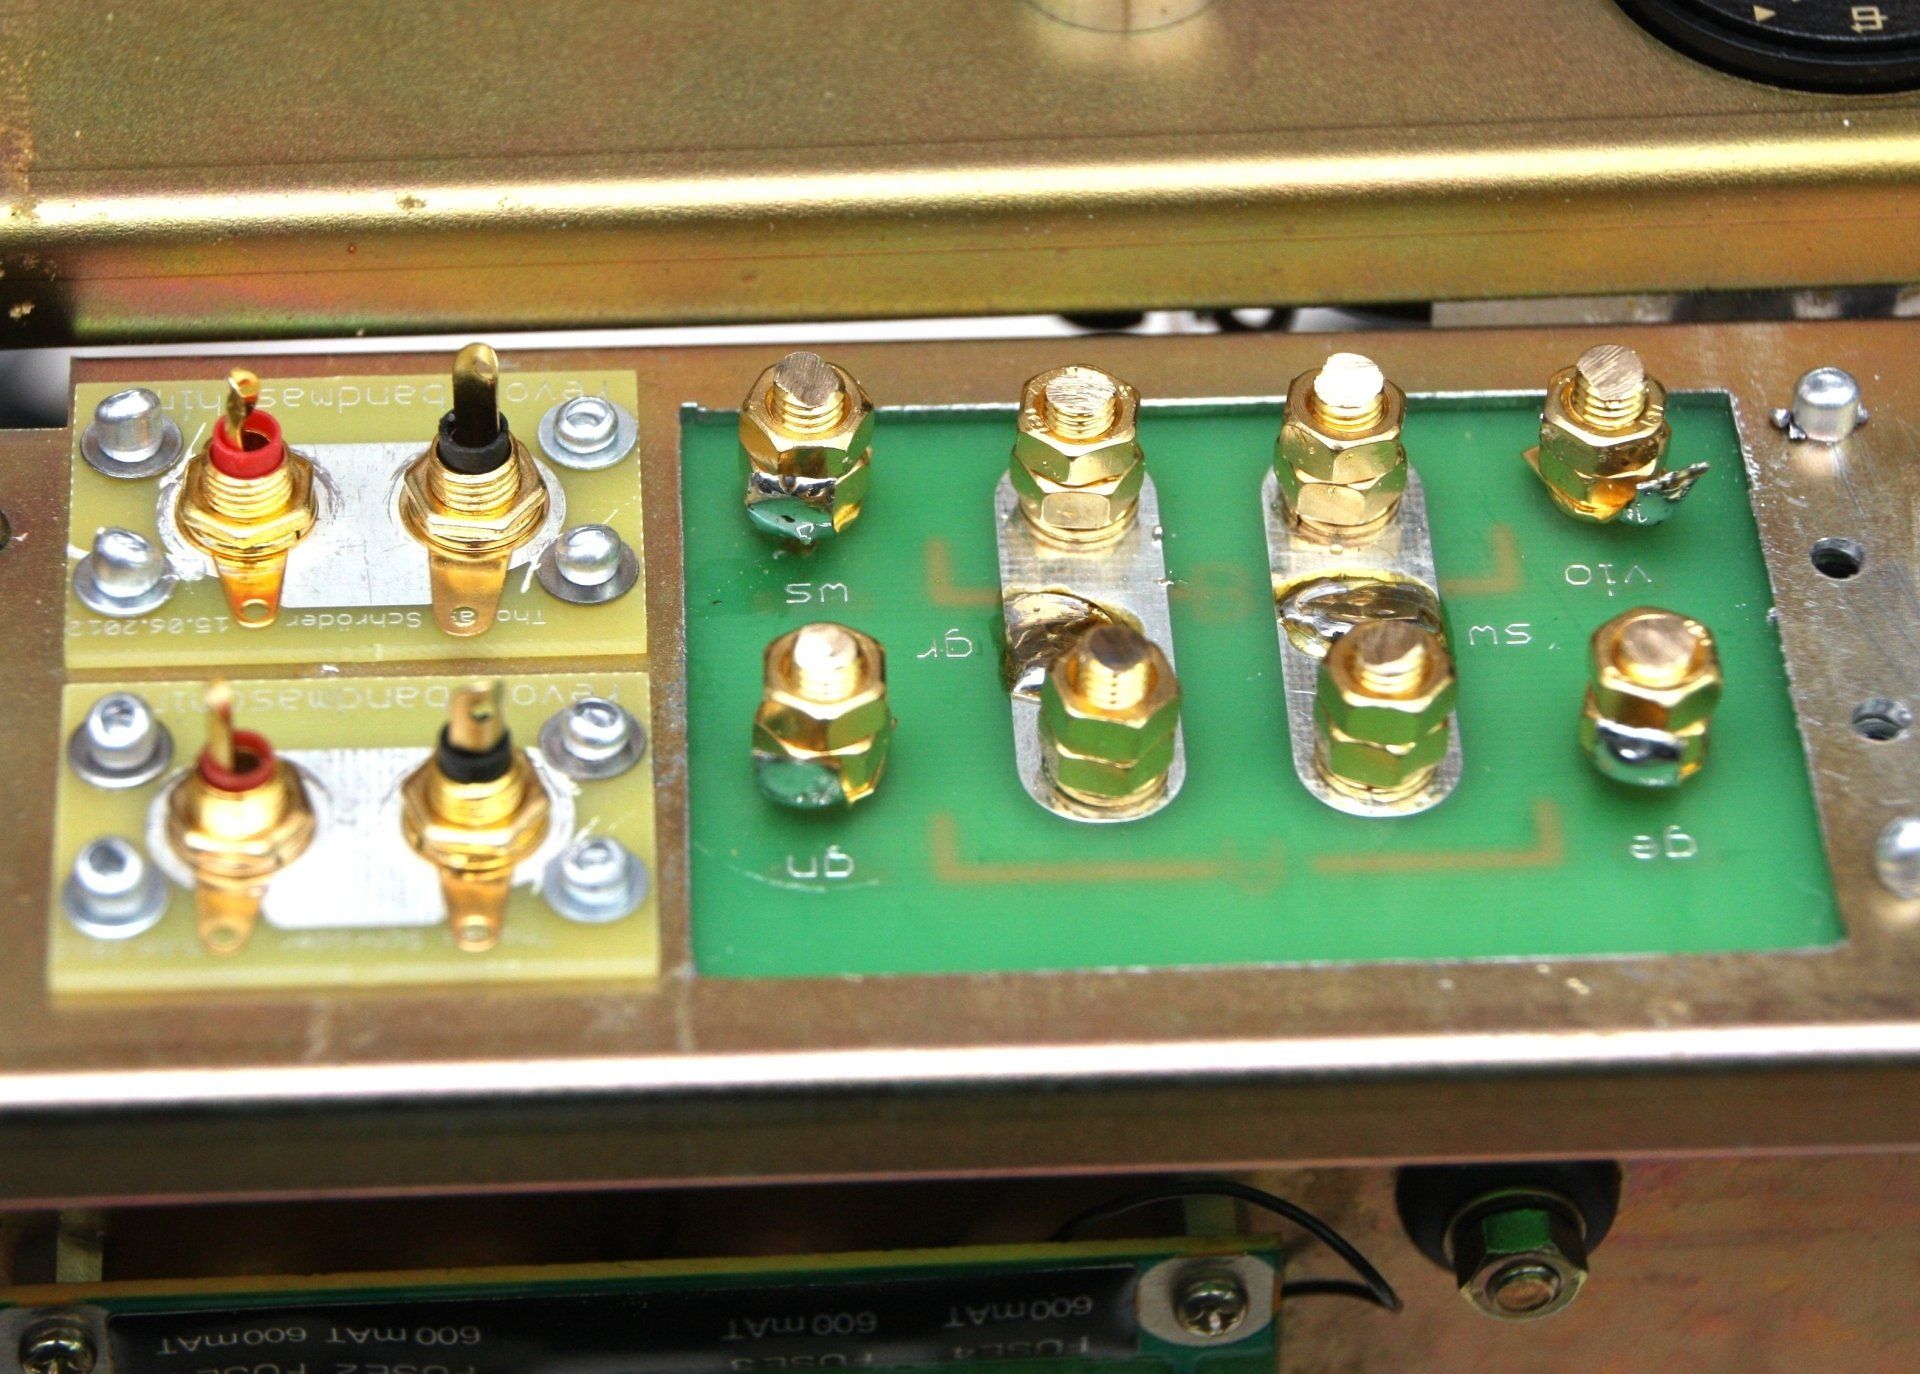
PCB, speaker terminals (inside) revox-online
Speaker terminals screwed onto the stable PCB Revox B750

distance

Only with this distance can the terminals be optimally operated, and the cable properly clamped. The danger of a short circuit is very low here. Even if you work with Bananas nothing happens here. And that for both pairs of speakers!
Leiterplatte Lautsprecheranschlüsse, Revox B750 Polklemmen
The modification

outbreak

The pole terminals require more space than the speaker DIN connectors or the old terminals. So that the back wall does not scratch when sawing, this is covered over a large area. The sawing and sanding marks, the edges are later painted with the supplied color.
Process the back panel of the B750
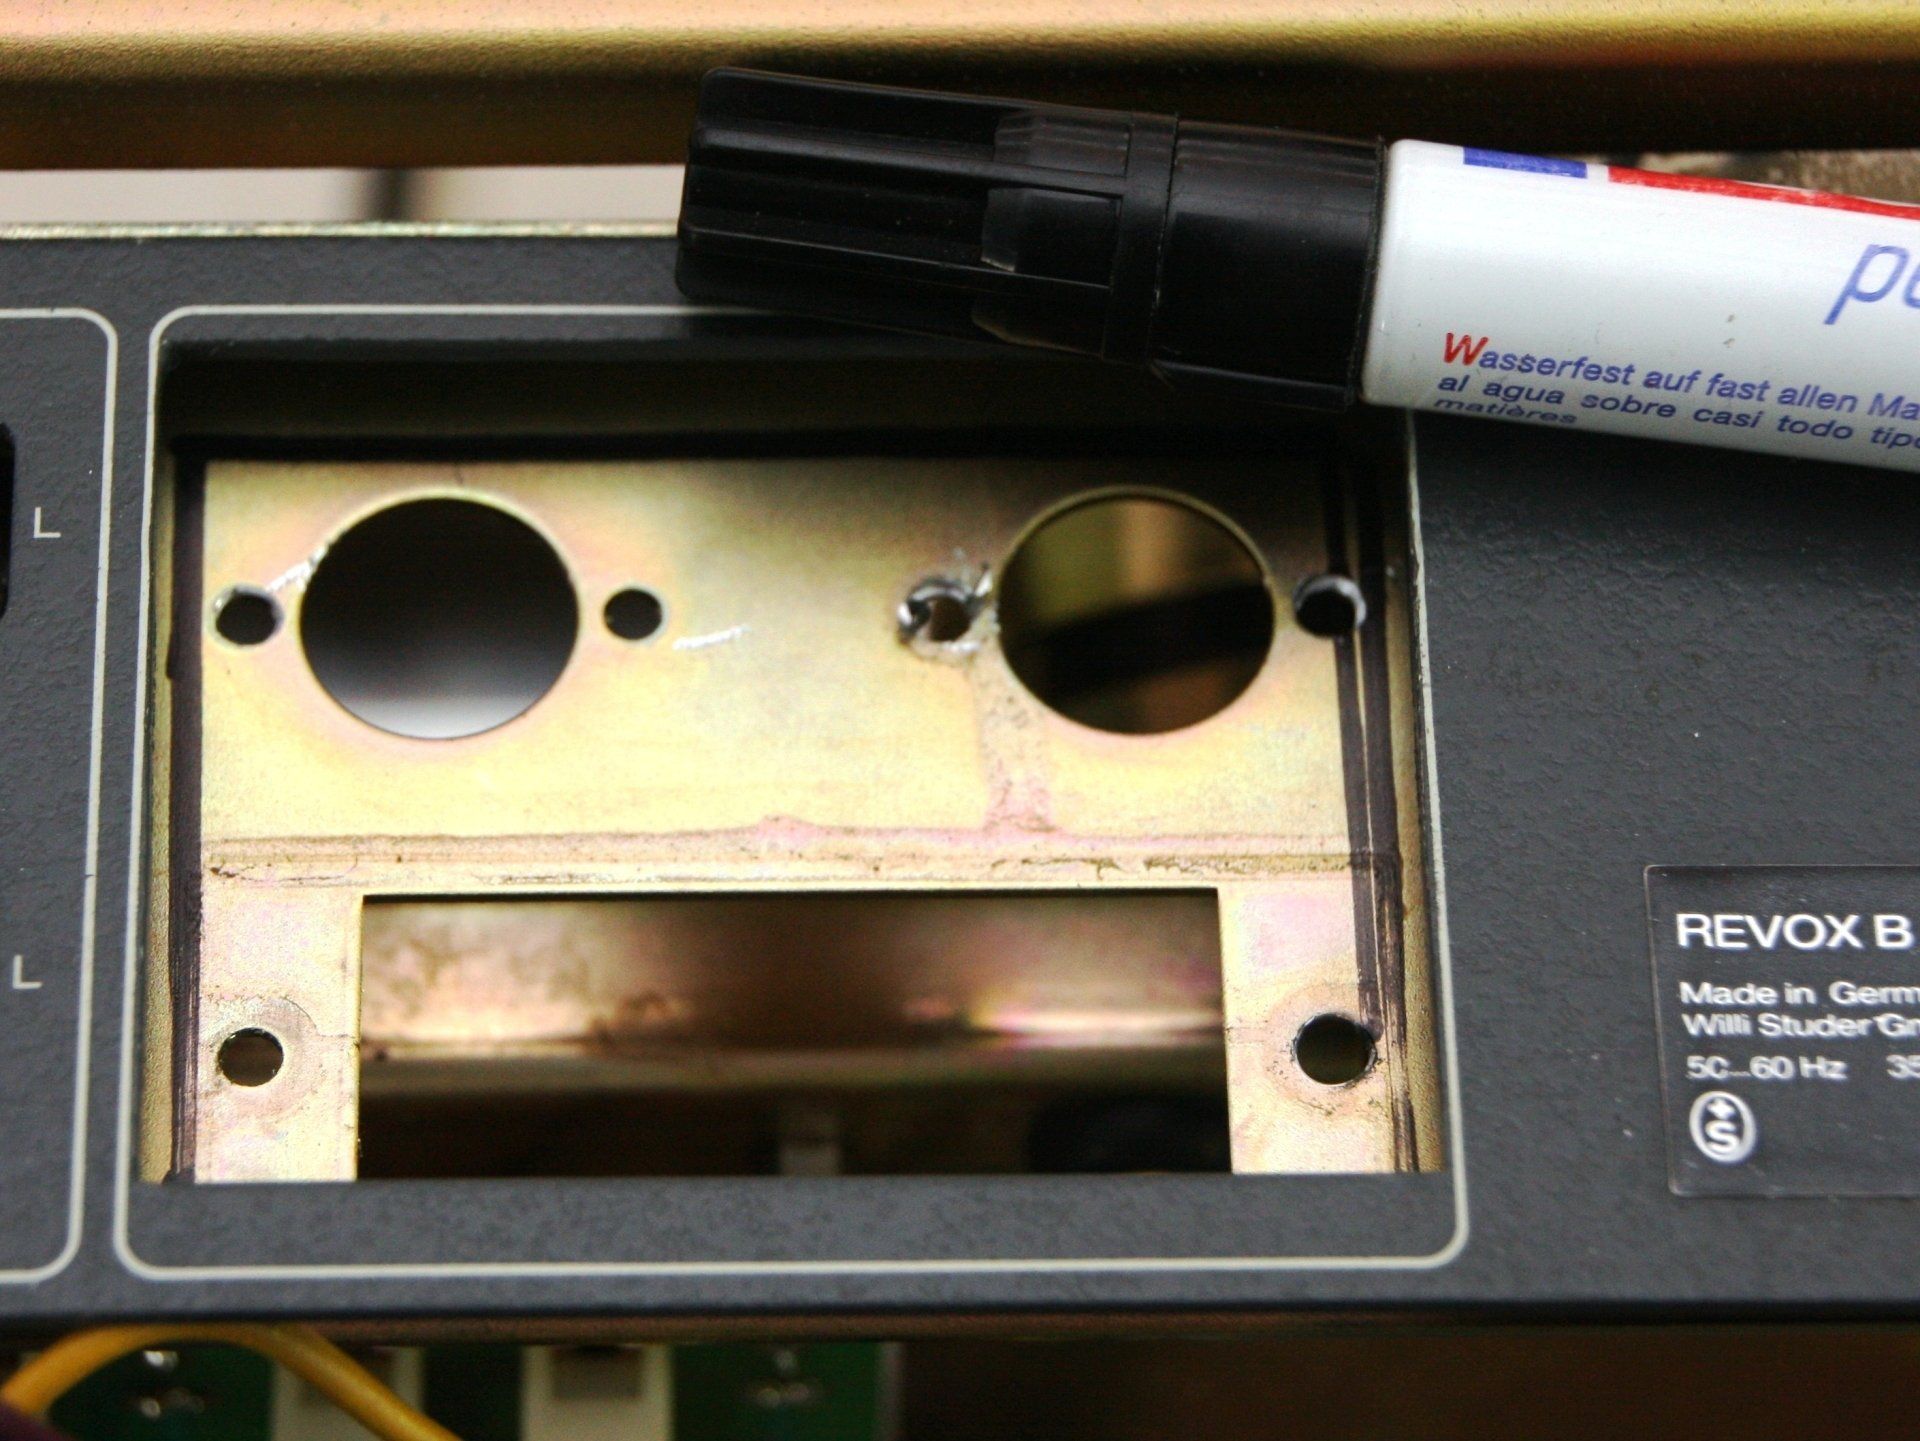
Mark the new cutout on the chassis of the Revox B750

intervention

Another intervention takes place on the chassis of the Revox B750. Also here must be sawed!
The marking takes place on the basis of the previously sawn back wall.
Ausschnitt am Chassis der Revox B750 anzeichnen

Comfort

A lot has to be done to increase the comfort!With a jigsaw and a little care, this can easily be done.
The two cinch socket pairs should be removed for easier work.
Chassis cutout Revox B750 for better speaker connections
assembly
Revox B750 with mounted circuit board

Mounting

The cinch sockets can then be equipped with the same extended distance
(only available in black).
Drill 2 holes on the right and the construction can begin! Two attachment points are perfectly adequate due to the sturdy epoxy board.
Einbau der Leiterplatten

soldering

Solder the strands to the soldering lugs of the pole terminals. The colors are on the circuit board. Black and gray are soldered directly to the ground planes. A bridge like before is no longer necessary!
Solder the wires of the speaker connections of the Revox B750
Revox B750 with perfect revox-online speaker terminals for A and B.

Finished

If it looks like that, everything fits.
The edges are painted gray. The speaker pairs A and B and right and left are marked. You can operate all pole terminals well and safely. You can clamp the cables directly or plug them with bananas!
Revox B750 mit revox-online Polklemmen
LS-connections

Here you will find the pole terminals in our shop
Share by: